
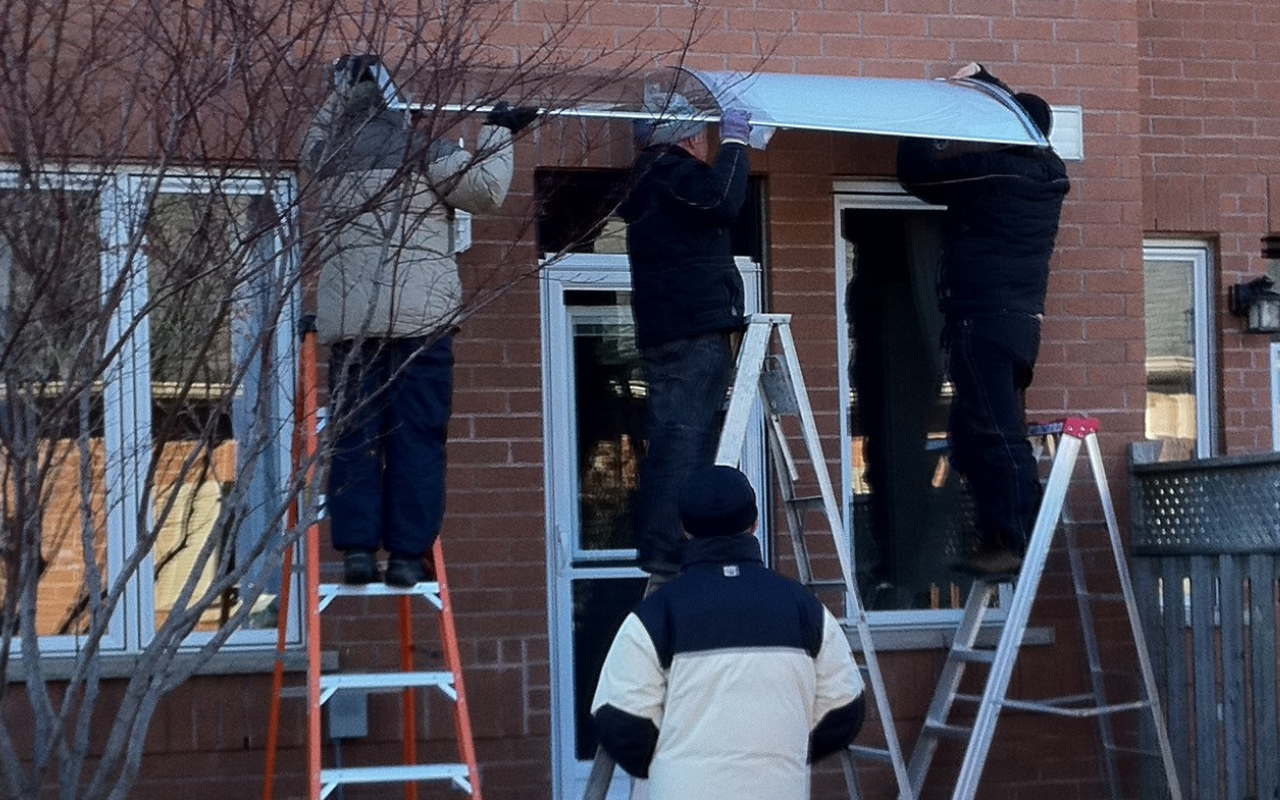
Thinking of installing a polycarbonate awning on your own? DIY installation can be a cost-effective and satisfying project—but it also involves certain risks, especially if you’re working at heights or dealing with heavy materials.
Whether you’re installing a small window shade or a large patio cover, safety should always come first. In this guide, we’ll walk through essential tips to help you avoid injury and ensure a successful, long-lasting awning installation.
Why Safety is Non-Negotiable
Improperly installed awnings can lead to serious consequences:
- Personal injury from falls or tool mishandling
- Structural damage to your home
- Reduced product lifespan due to poor anchoring
Especially in Canada—where weather conditions can be unpredictable—having a securely mounted, stable awning is critical. That’s why we recommend taking extra care at every stage of the installation process.
DIY Awning Installation: Safety Tips to Follow
1. Read the Manufacturer’s Instructions
Before anything else, thoroughly read the manufacturer’s guide. Each type of awning—especially polycarbonate ones—has specific mounting instructions. Skipping this can result in weak spots, incorrect angles, or even warranty issues.
Take note of materials required, weight distribution guidelines, and suggested mounting locations.
2. Gather the Right Tools
Using the correct tools ensures a faster, safer installation. Here’s a basic checklist:
- Power drill and screwdriver bits
- Measuring tape and level
- Stud finder
- Sturdy ladder
- Safety goggles and gloves
- Appropriate fasteners or anchors
Check all tools before starting to ensure they’re in good working condition.
3. Ladder Safety is a Must
One of the most common DIY injuries? Falls from ladders. Position your ladder on level, solid ground. Never stand on the top rung or stretch too far—move the ladder as needed. If possible, have someone hold the ladder steady for added support.
If you’re working higher than one storey, seriously consider hiring a pro.
4. Look Out for Electrical Hazards
Before drilling into any wall, check for hidden electrical wires, gas lines, or plumbing. Use a multi-sensor stud finder with electrical detection capabilities.
This is especially critical if you’re installing a motorized or retractable awning that connects to a power source.
5. Don’t Skip the Safety Gear
Even for small jobs, protective equipment can prevent injuries. At a minimum, wear:
- Safety goggles to protect from debris
- Durable gloves to avoid cuts or scrapes
- Non-slip shoes to reduce the risk of falls
Consider wearing long sleeves and knee pads for extra protection.
6. Anchor Properly for Canadian Weather
If you’re mounting your awning on siding, brick, or concrete, choose appropriate anchors. Poor anchoring can lead to your awning coming loose in heavy wind or snow.
Always mount into a solid structure like a wall stud or masonry—not just drywall or thin paneling.
7. Plan for Weather and Time
Don’t install during wet or windy weather. Polycarbonate awnings can be lightweight and catch the wind easily during installation. Choose a calm, dry day for safer handling.
Also, give yourself enough time to finish the project in daylight. Rushing as the sun sets can lead to mistakes and accidents.
Final Considerations
Installing your own awning is a great way to save money and personalize your outdoor space—but it’s only worth it if you do it safely. From reading instructions to using the right anchors, each step you take toward safety helps ensure a more secure and long-lasting result.
If your installation involves multiple panels, electrical work, or heights beyond your comfort zone, it’s okay to call in a pro. Your safety—and the strength of your awning—depends on smart decisions from start to finish.